How to Make Artisan Keycaps: Complete Guide for Collectors & Creators
Artisan keycaps have taken the mechanical keyboard scene by storm, offering enthusiasts a unique way to express creativity and personalize their setups. If you’ve ever wondered how to make artisan keycaps, this complete guide covers everything from the basics to advanced techniques, empowering you to create your very own miniature masterpieces.
So How to Make Artisan Keycaps Of Your Own?
Creating your own artisan keycaps isn’t just about having a custom keyboard—it’s a journey of self-expression and craftsmanship. Here’s why you might want to make your own:
Personalization: Design keycaps that perfectly reflect your style, color preferences, and creative vision.
Collectible Value: Unique, handcrafted pieces stand out in the community and may even increase in value over time.
Creative Experience: Blend artistry with the culture of mechanical keyboards and join a passionate community of makers.
Understanding the Basics of Artisan Keycaps
Before diving into the crafting process, it’s important to grasp what makes artisan keycaps so special.
Popular Types of Artisan Keycaps
Artisan keycaps come in a variety of materials and finishes. Some popular types include:
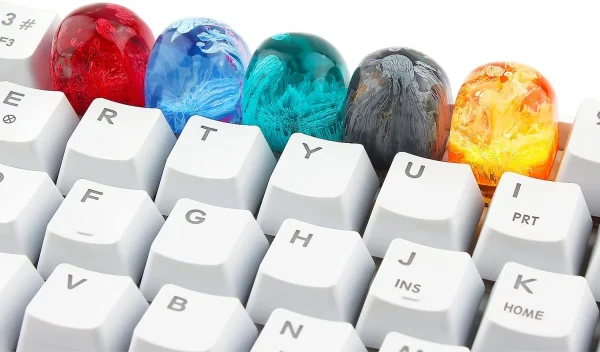
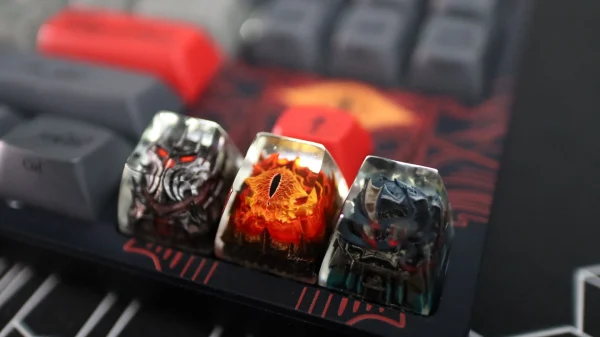
Resin: Offers vibrant colors, translucency, and endless creative possibilities.
Metal: Provides a sleek, durable option with a modern aesthetic.
Wood: Brings an organic, warm feel to your keyboard.
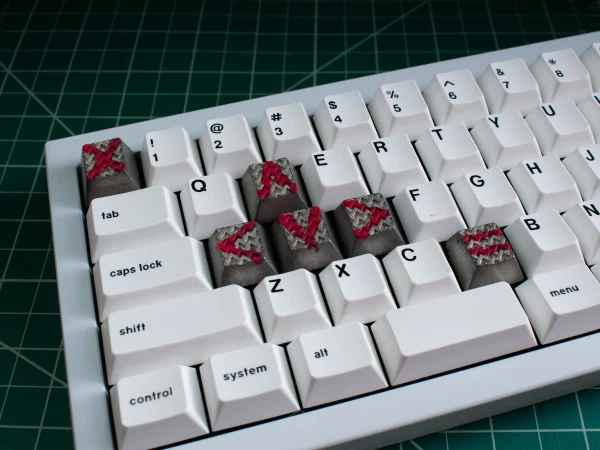
Clay: Allows for detailed sculpting and an artisanal, hand-crafted appearance.
Key Factors That Define a High-Quality Keycap
When crafting your keycap, pay close attention to:
Material: The choice of resin, metal, wood, or clay affects texture and visual appeal.
Durability: Ensuring your keycap can withstand daily use while maintaining its finish.
Fit: Precision in design guarantees that your keycap fits securely on your keyboard switch.
Before You Get Started: Essential Tools & Materials
Having the right tools and materials is crucial for successful keycap creation. Here are some essentials:
Resin & Silicone Molds: Choosing the Right Type
Selecting a high-quality resin and the appropriate silicone mold is vital. Look for molds that capture fine details and are made from durable silicone to ensure repeated use.
Pigments & Dyes: How to Achieve Stunning Effects
Experiment with various pigments and dyes to create effects like swirls, gradients, and even galaxy-inspired designs. These additives can transform plain resin into a work of art.
UV Resin vs. Epoxy Resin: Pros and Cons
UV Resin: Cures quickly under UV light and is great for smaller projects, though it might have a slightly softer finish.
Epoxy Resin: Known for its durability and clear finish, but requires a longer curing time and careful mixing.
Sculpting Tools: Best Options for Hand-Sculpting Keycaps
For hand-sculpted elements, invest in quality sculpting tools such as clay modeling kits, detailing brushes, and precision knives to bring out intricate details.
Step-by-Step Guide: How to Make Artisan Keycaps
Below is a detailed walkthrough of the key steps involved in making your own artisan keycaps.
Step 1: Designing Your Keycap
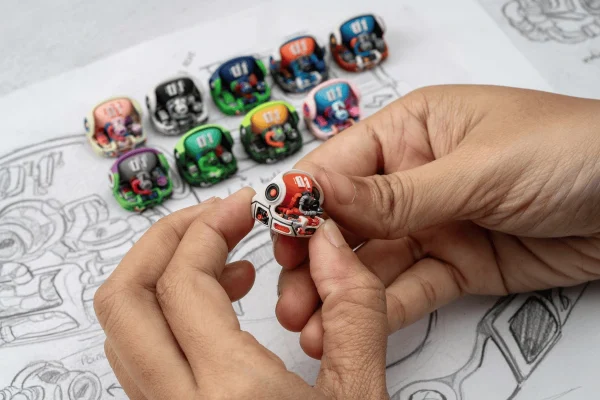
Sketch Your Idea: Start with a clear sketch of your envisioned design.
Digital or Hand-Sculpting: Use 3D modeling software for precision or hand-sculpt your design for a personal touch.
Step 2: Creating a Master Prototype
Sculpting with Clay or 3D Printing: Create a master model using clay or a 3D printer.
Refine Details: Make necessary adjustments to ensure the prototype captures every nuance of your design.
Step 3: Making a Silicone Mold
Selecting Silicone: Choose a durable silicone that can capture fine details.
Pouring and Curing: Pour the silicone over your master prototype and allow it to cure fully, ensuring no air bubbles disrupt the detail.
Step 4: Pouring & Curing the Resin
Mixing Pigments: Combine your resin with pigments and dyes to create special effects like swirl, galaxy, or glow-in-the-dark finishes.
Prevent Air Bubbles: Take precautions such as using a vacuum chamber or tapping the mold gently to release trapped air.
Curing: Follow the resin’s curing instructions carefully to achieve a solid, clear finish.
Step 5: Demolding & Finishing Touches
Demolding: Carefully remove the resin keycap from the silicone mold.
Polishing: Smooth the edges and surfaces using fine sandpaper or polishing compounds.
Protective Coatings: Apply a clear coating if necessary to preserve the design and add durability.
Common Mistakes & How to Avoid Them
Even experienced creators run into issues. Here are some common pitfalls:
Cloudy or Air-Bubbled Resin: Ensure thorough mixing, use degassing techniques, and work in a controlled environment.
Silicone Mold Lacking Detail: Use high-quality silicone and follow proper pouring methods to capture intricate details.
Keycap Doesn’t Fit the Switch: Double-check your measurements and adjust your design to meet the precise dimensions of your keyboard’s switch.
Advanced Techniques for Unique Designs
Take your art to the next level with these advanced methods:
Multi-Layered Resin: Creating Depth and Transparency
Layer different resin mixtures to produce a keycap with visual depth and a mesmerizing translucent effect.
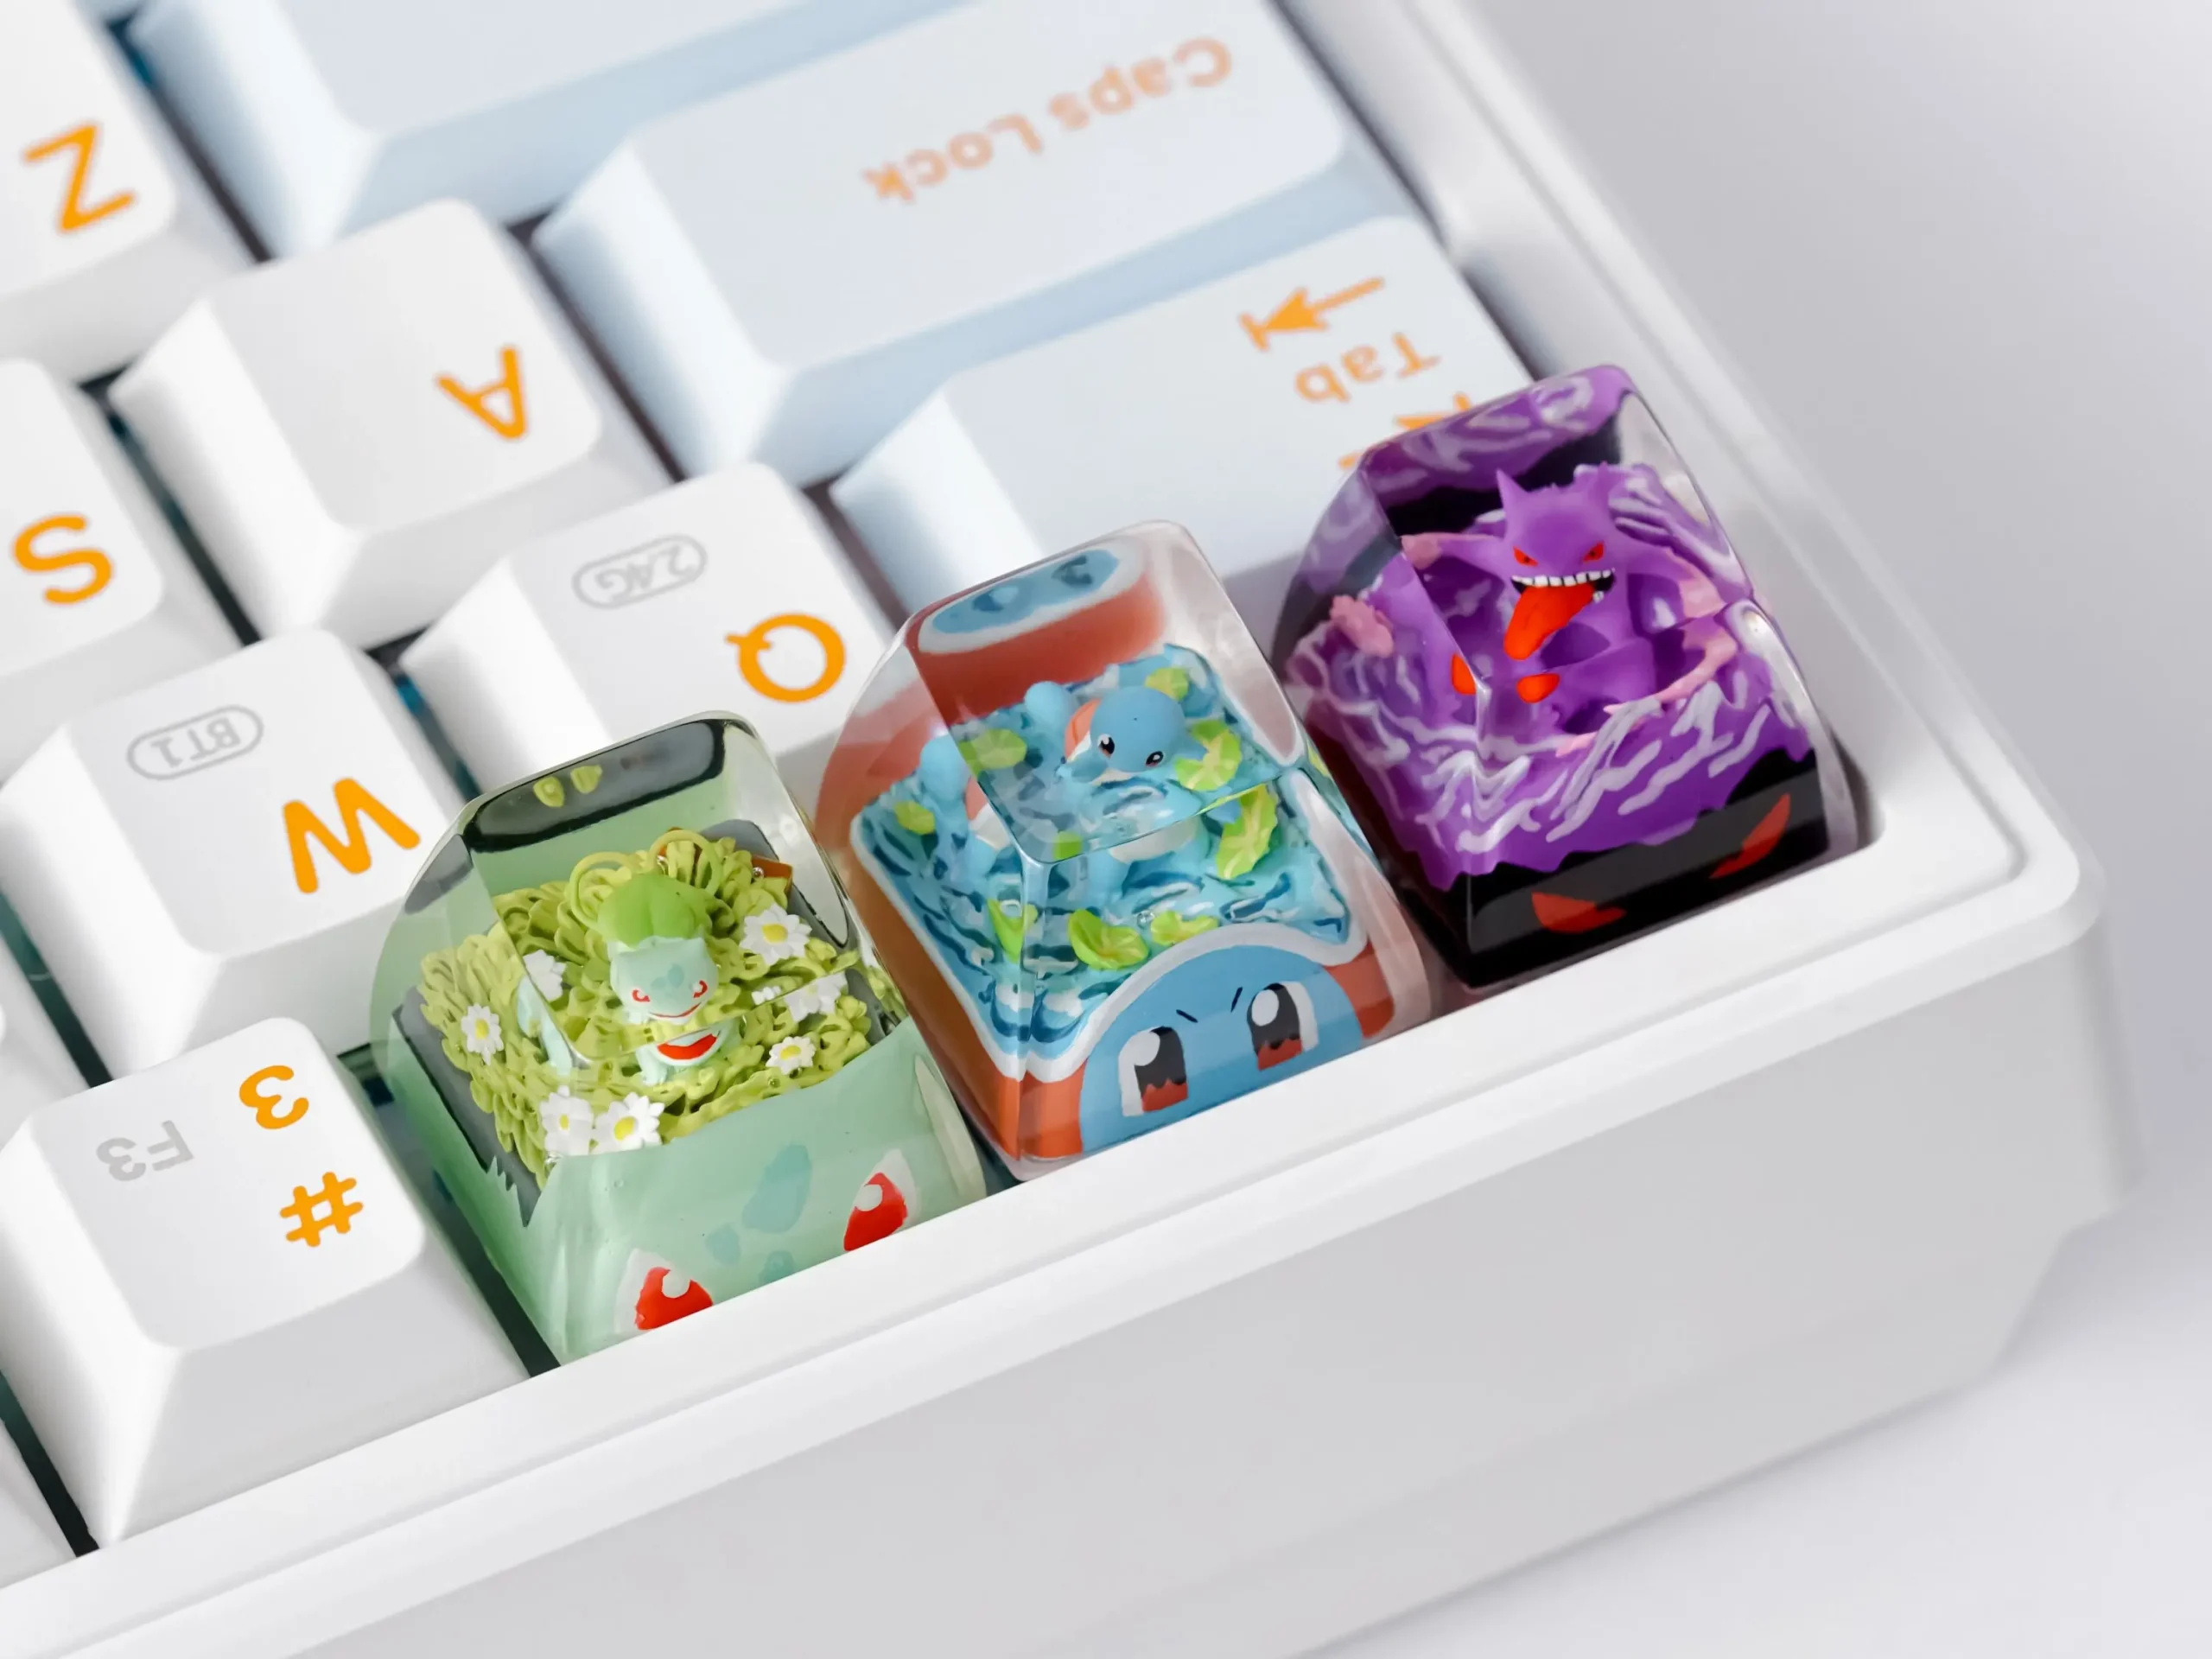
Embedded Objects: Adding Miniatures, Dried Flowers, or Decorations
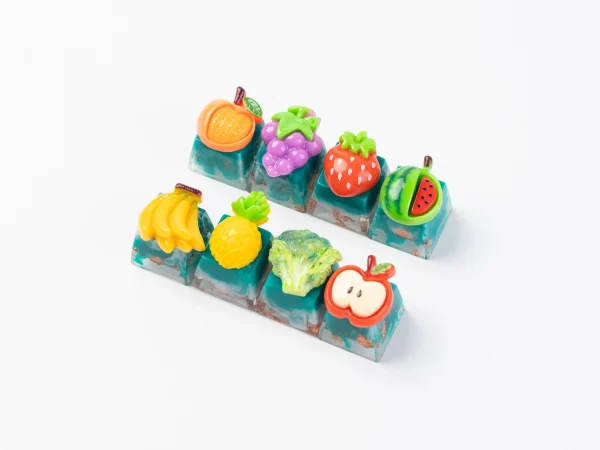
Experiment with embedding tiny objects into the resin to create truly one-of-a-kind keycaps.
Hand-Painting Details: Adding Intricate Designs
After demolding, use fine brushes to add hand-painted details that enhance the uniqueness of your keycap.
Glow & UV Reactive Effects: Making Keycaps Light Up in the Dark
Incorporate glow-in-the-dark pigments or UV-reactive dyes to create dramatic effects that illuminate under specific lighting conditions.
How to Sell or Showcase Your Artisan Keycaps
Once your keycaps are finished, you might want to share your creations with the world:
Where to Sell Handmade Keycaps: Platforms like Etsy, Reddit, Discord communities, and Instagram are popular spots for connecting with collectors.
Building a Personal Brand: Develop a story around your brand, showcase your creative process, and engage with the keycap community.
Photography Tips: Use high-quality photography to capture the details and vibrant colors of your keycaps, making your pieces stand out online.
FAQs: Common Questions About Making Artisan Keycaps
Q1: Is making artisan keycaps difficult?
A: The process can be challenging for beginners, but with practice and the right tools, anyone can learn to create beautiful keycaps.
Q2: How long does it take to craft an artisan keycap?
A: The time varies based on complexity—from a few hours for simpler designs to several days for highly detailed or multi-layered pieces.
Q3: Can you make keycaps without a mold?
A: While molds are common for consistency and detail, some artists do experiment with free-hand sculpting methods for one-off pieces.
Q4: How do you preserve resin keycaps for long-term use?
A: Store your keycaps in a dust-free, cool environment, and consider applying a protective coating to extend their longevity.
Ready to embark on your DIY journey? Dive into the world of artisan keycap creation today and join a vibrant community of makers who are redefining keyboard aesthetics one key at a time. Happy crafting!


