How to Care for Artisan Keycaps: 7 Essential Cleaning & Maintenance Tips
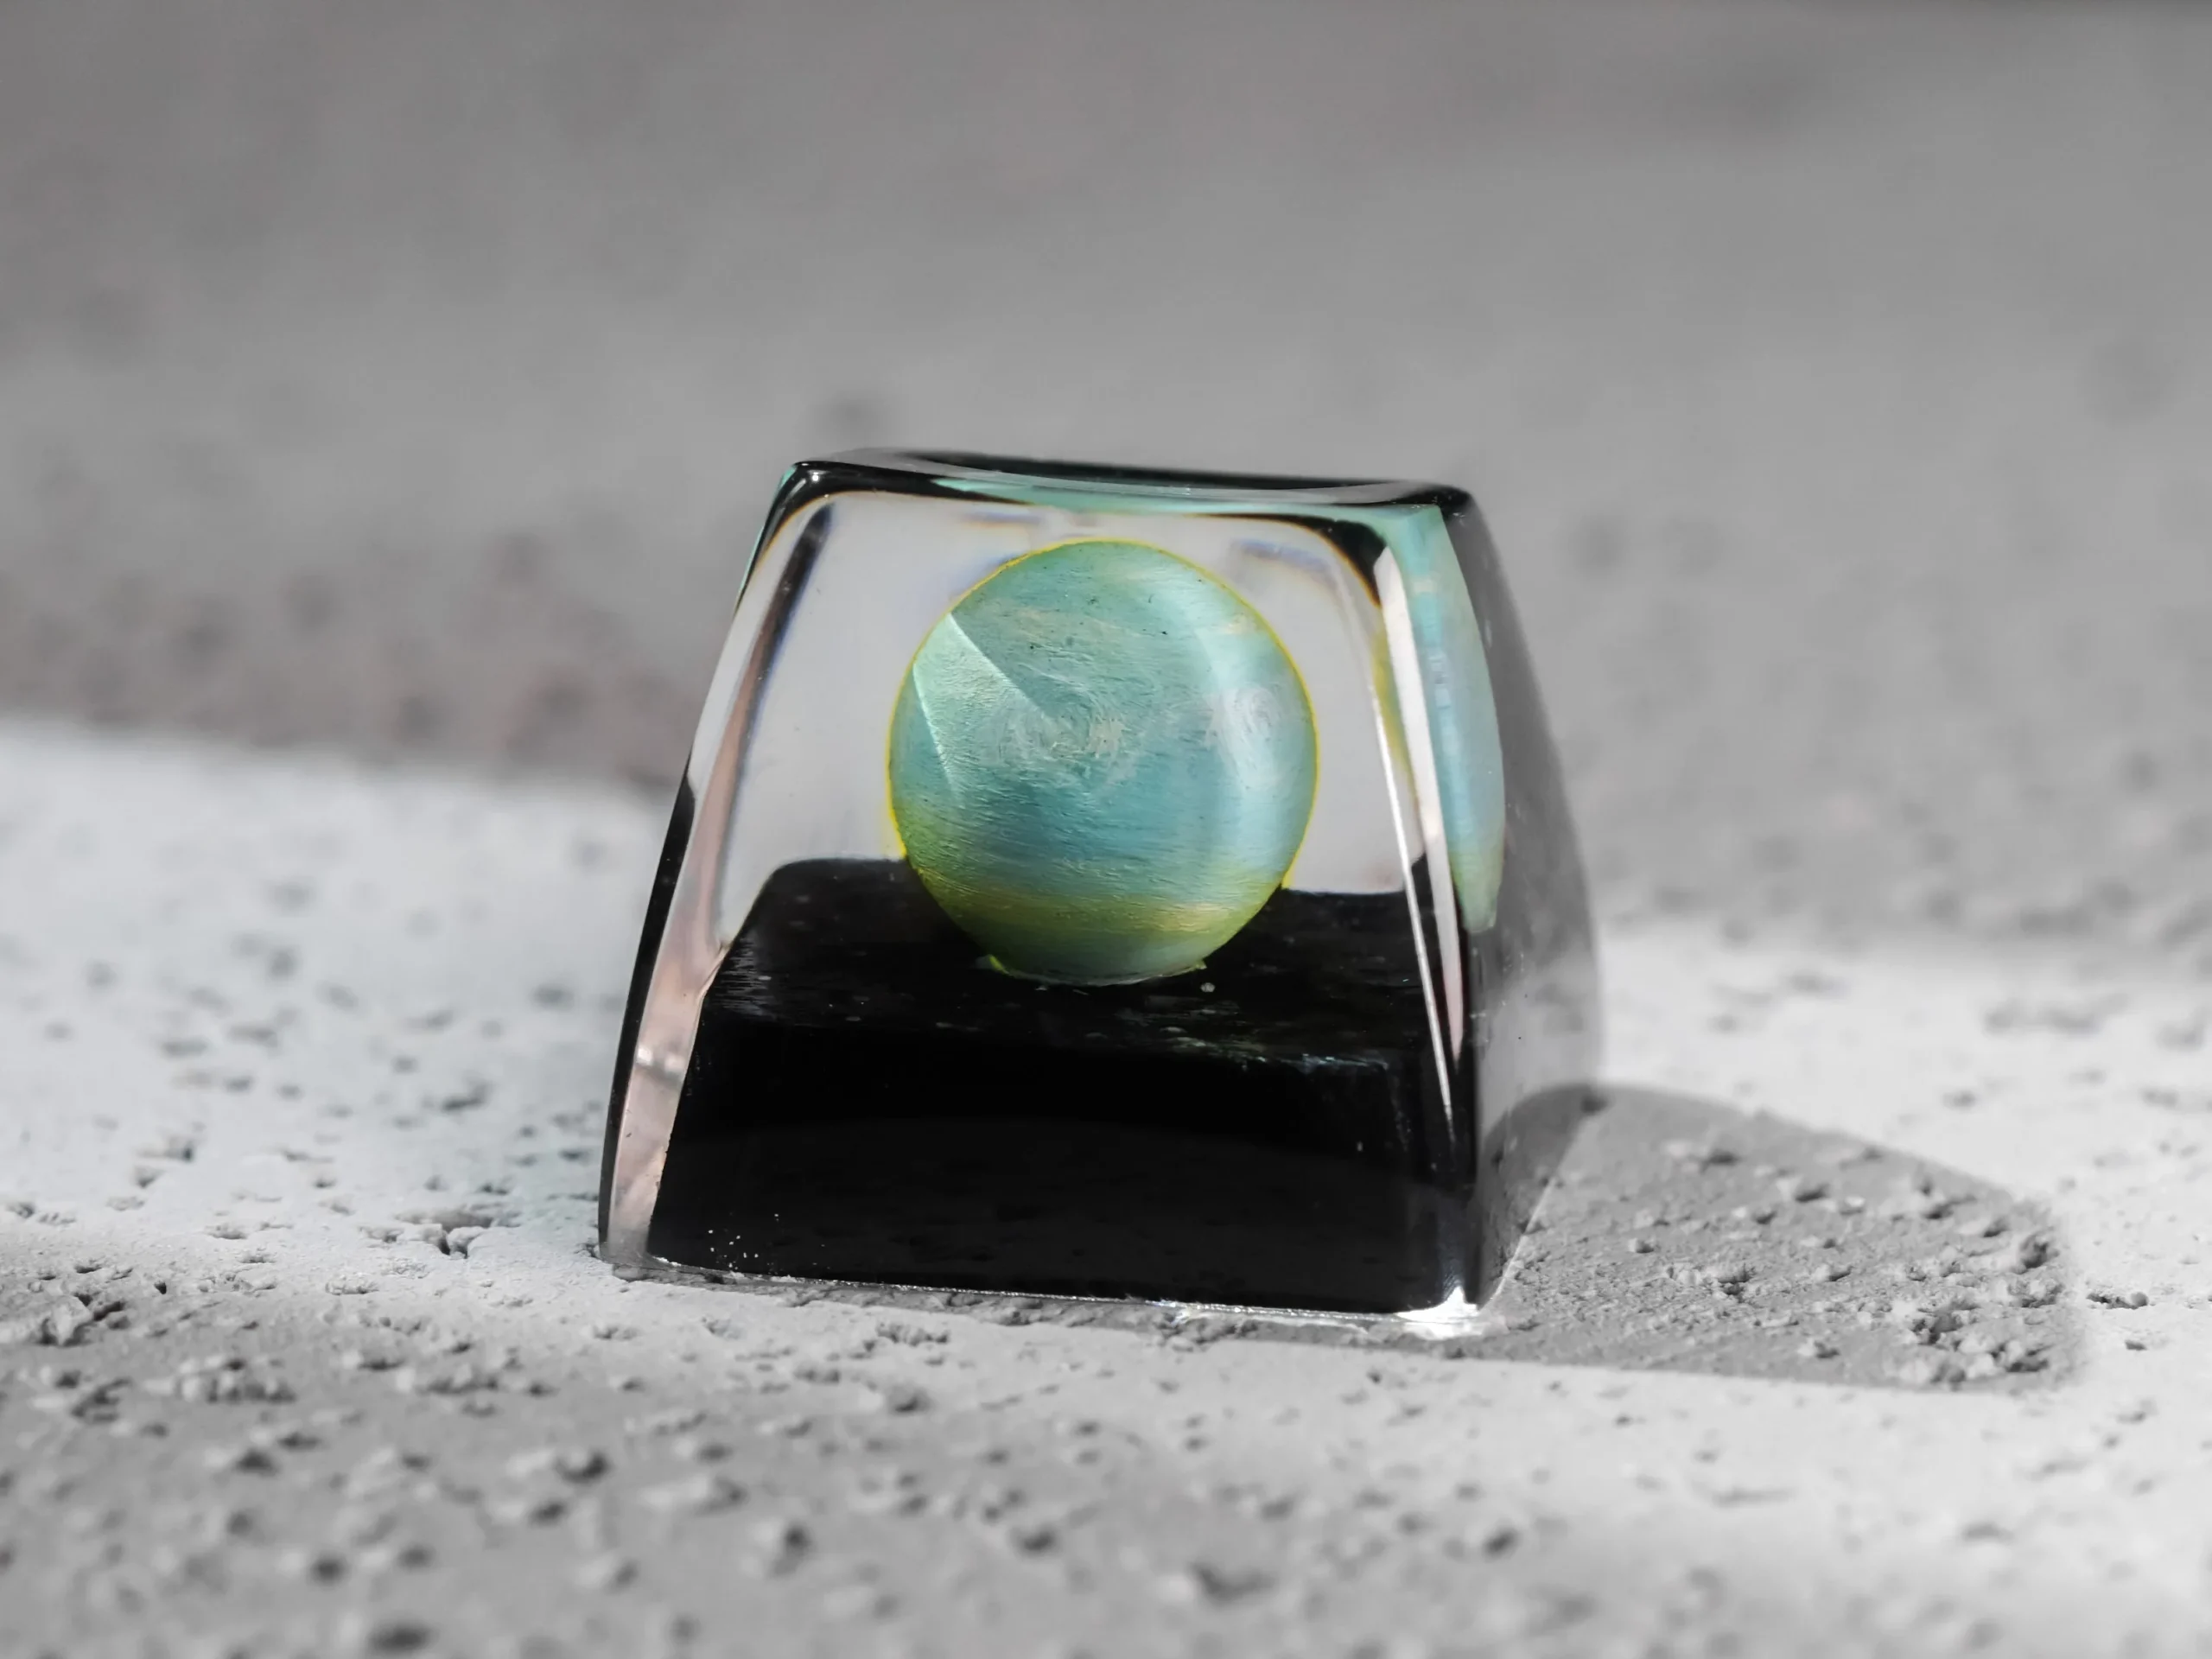
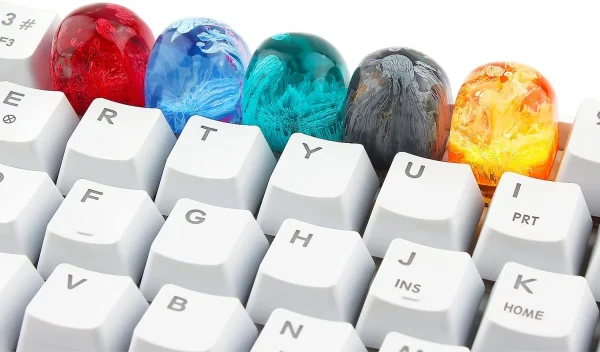
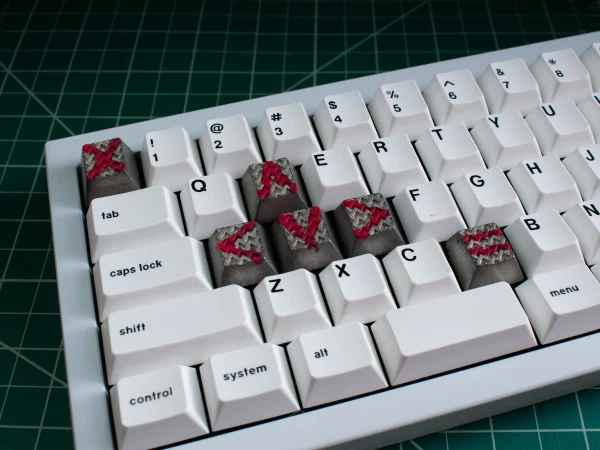
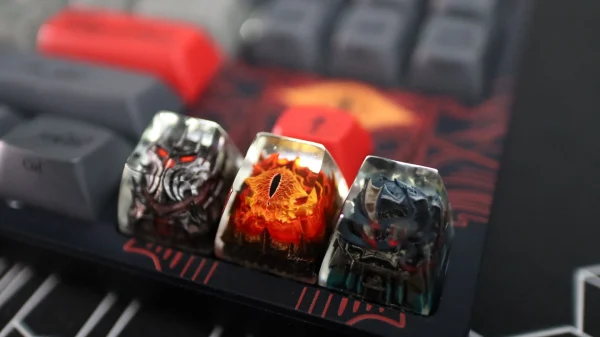
Artisan keycaps are more than just functional components—they’re miniature works of art that personalize your mechanical keyboard. To ensure they remain vibrant and intact, proper care is essential. In this guide, we’ll explore how to care for artisan keycaps, focusing on effective cleaning and maintenance practices.
Why Proper Care for Artisan Keycaps Matters
Artisan keycaps are crafted from various materials like resin, metal, and high-grade plastics. Without regular maintenance, they can accumulate dirt, oils, and grime, leading to discoloration or damage. Proper care not only preserves their aesthetic appeal but also extends their lifespan.
Step-by-Step Guide to Cleaning Artisan Keycaps
1. Gather Your Cleaning Supplies
Before you begin, assemble the necessary tools:
Keycap puller
Soft-bristled brush or toothbrush
Mild dish soap
Warm water
Microfiber cloth
Compressed air canister
2. Remove the Keycaps Safely
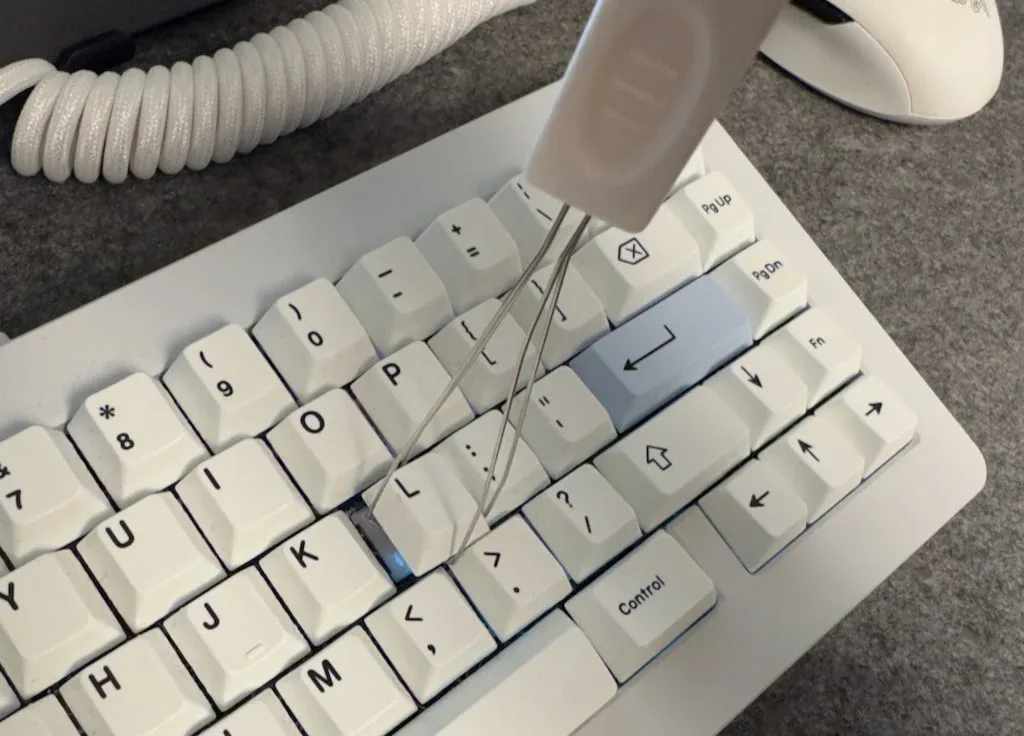
Use a keycap puller to gently remove each keycap. For larger keys like the spacebar, take extra care to avoid damaging the stabilizers. It’s helpful to take a photo of your keyboard layout beforehand for easy reassembly.
3. Soak the Keycaps
Fill a container with warm water and add a few drops of mild dish soap. Place the keycaps in the solution and let them soak for 30–60 minutes to loosen any debris.
4. Scrub Gently
After soaking, use a soft-bristled brush to gently scrub each keycap, focusing on intricate areas where dirt may accumulate. Avoid using abrasive materials that could scratch the surface.
5. Rinse and Dry
Rinse the keycaps thoroughly under running water to remove any soap residue. Pat them dry with a microfiber cloth and lay them out to air dry completely, preferably overnight, to prevent moisture-related issues.
6. Clean the Keyboard Base
While the keycaps are drying, use compressed air to remove dust and debris from the keyboard base. Wipe the surface with a damp microfiber cloth to eliminate any remaining grime.
7. Reassemble the Keyboard
Once the keycaps are fully dry, refer to your earlier photo to reattach them correctly. Ensure each keycap is securely in place to maintain optimal typing performance.
Maintenance Tips to Keep Your Keycaps Pristine
Regular Cleaning: Aim to clean your keycaps every 1–3 months, depending on usage.
Hand Hygiene: Wash your hands before using your keyboard to minimize oil and dirt transfer.
Avoid Eating Near the Keyboard: Prevent crumbs and spills that can lead to grime buildup.
Use a Keyboard Cover: Protect your keyboard from dust when not in use.
Proper Storage: If storing keycaps, keep them in a cool, dry place away from direct sunlight.
Common Mistakes to Avoid
Using Harsh Chemicals: Avoid cleaners with alcohol or bleach, as they can damage keycap materials.
Skipping Drying Time: Ensure keycaps are completely dry before reassembly to prevent moisture damage.
Neglecting Regular Maintenance: Infrequent cleaning can lead to stubborn grime that’s harder to remove.
Conclusion
Caring for your artisan keycaps doesn’t have to be daunting. With regular cleaning and mindful maintenance, you can preserve their beauty and functionality for years to come. Explore our collection of artisan keycaps at MCraftin and give your keyboard the personalized touch it deserves.


